
In this visit & photography guide for Etosha National Park, Namibia I will summarize the hottest tips and tricks for Namibia’s top tourist attraction and the mecca for wildlife photographers.
Table of Contents
Disclosure
The Etosha national park’s main characteristic is a huge salt pan which can be even seen from space. Easily. If you don’t want to leave the warm embrace of Mother Earth’s atmosphere to check it out, just use Google Maps from the comfort of your room.
Unlike the clay pan of Deadvlei, this pan does get moist and muddy during the wet season. The park is easily accessible (tarred roads from Windhoek) and the wildlife inside the park congregates around numerous waterholes. Some of them are natural, some of them artificially made. The Etosha park is also in a low-risk malaria area.

Tips for visiting Etosha, Namibia
How to organize your trip to Etosha
If you are a complete beginner to safari like I was – once in the park, you’re not allowed to leave your vehicle. You can get out of the car only in areas designed for that. That’s very important not only for the photography part but also for the logistics of your trip.
When I say logistics, I’m talking about going to the loo. I highly recommend getting a map of the area. You can get one by NWR (Namibia Wildlife Resorts) for about 100 NAD in surrounding hotels or inside the park. Besides all waterholes, this map shows also toilets and petrol stations as well as drawings of animals you’ll be able to see in Etosha. It proved incredibly useful!

Subscribe now and get my free ebook straight into your mailbox!
Etosha’s huge salt pan can be even seen from space. Easily.
The following map will help you understand the area but I still recommend buying the real thing. It is most likely that you’ll arrive either to the Okaukuejo Gate in the west or the Namutoni (Lindequist) Gate in the east. There are two more gates – the Galton Gate in the very west (reservation for Dolomite Camp necessary!) and the King Nehale Gate in the northeast.
As everywhere in Namibia – distances are not to be underestimated. The drive itself (without any stopping) from Okaukuejo to Namutoni Gate takes about 2.5 hours. The gates are opened from sunrise to sunset. So if you’re not staying in one of the camps inside the park, keep an eye on your watch so you don’t get trapped.

When you arrive at the gate, you’ll have to state how many people, how many nights you stay inside the park, your nationality, and plate number. You’ll get a paper and you may continue. Next, you’ll drive to Okaukuejo / Namutoni and find the reception. Fill in the paper you received and pay the entrance fee (2018: 80 NAD per person, 10 NAD per vehicle per day).
Where to stay inside the park?
Staying inside the park is a fantastic experience if you want to experience wildlife early in the morning and during the late evening. There are 5 camps you can stay, all belonging to NWR. So I wouldn’t expect much luxury – pretty much any decent lodge in Namibia will be better in terms of quality, service, friendliness, and value for money. But hey – not many other lodges will offer more unique location! And I must say the two new ones (Dolomite & Onkoshi) look excellent!
Plan well and book early as these are sold out super fast! You can book either directly via NWR or via a tour operator (which I personally found easier).
- Dolomite – one of the two new camps, the far western part of the park
- Okaukuejo – at the Anderson’s Gate
- Halali – right in the middle between Okaukuejo and Namutoni, with the epic Moringa waterhole
- Namutoni – at the Namutoni Gate, eastern side
- Onkoshi – one of the 2 new camps, northeast of the park, beautiful viewing platform over the Etosha pan

Fancy collecting the rests of your exhaust pipe when surrounded by lions?
Driving in Etosha National Park
Many of you will certainly ask: “Do I need a 4WD car for Etosha or is a 2WD car enough?”. There is no clear answer to that. The road from Windhoek to Etosha is tarred all the way up and is in excellent condition. Once you’re in the park (you’re allowed to enter with a 2WD), tarmac turns into gravel. I would describe the main road between Okaukuejo and Namutoni as ‘doable’ in a 2WD. Maybe not very comfortable but doable.
However, take a turn to pretty much any side waterhole and you might witness the biggest potholes you’ve ever witnessed. Seriously, in terms of size, some of them are not dissimilar to the Tycho crater. You will simply need a car with a decent ride height unless you really fancy some exhaust-collecting while you’re surrounded by lions.
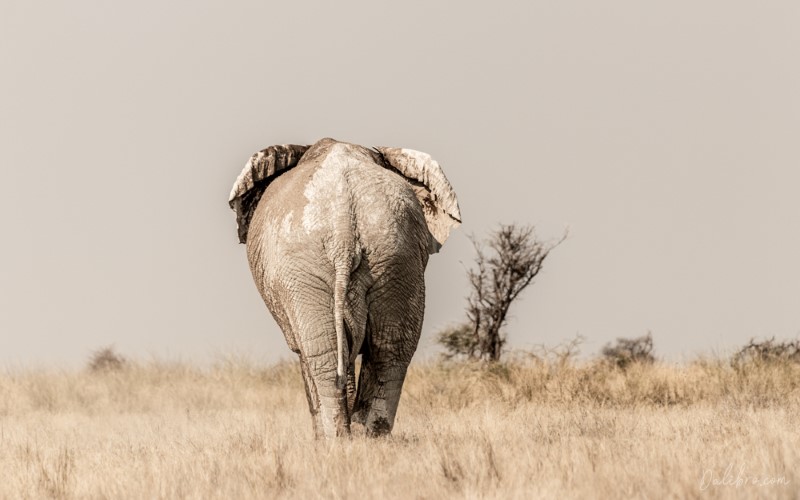
Please behave as if you’re paying a visit to your friends at their home. When driving through the national park, don’t drive too fast and keep your eyes open. Animals often cross the roads. Don’t scare them, don’t go too close, don’t shout, don’t rev the engine. If you scare an elephant or rhino, you’ll pay the price.
How many days do you need for Etosha?
That really depends on your preferences. If wildlife is why you came to Namibia, plan more than one day. We had 3 full days and it seemed about right for us to cover the area between Okaukuejo and King Nehale, and to see species we wanted to see. But honestly, you could drive the same roads every day for years and still enjoy as if it was your first time.
Should you book a tour or drive yourself?
That’s a question I asked myself too! Now I’ve been there, I must say I really enjoyed the self-drive! Especially the fact we could stay how long we wanted at whatever waterhole we found interesting. I might be saying something else though, had we rented a VW Polo.
But with our trusty Toyota Hilux? We were perfectly fine. I can’t stress enough, to bring something to help you identify the animals – like the cheap and super simple NWR’s map with images and descriptions I talked about earlier. Safari is so much more fun this way!
If you do arrive in a small low-built car, it might be a good idea to book a game drive from some of the surrounding hotels first. Just to see what you’re up to if you then decide to enter the park on your own.
Another argument for booking a game drive would be the knowledge of the guides about animals’ whereabouts. That is certainly correct. However – don’t forget the distances and the fact that most animals are on the move all the time. So even if one guide gets info about certain wildlife at waterhole XY, by the time he/she gets there, there’s a good chance the animals will have gone.

Which waterholes you should see
Frankly, I’m a strong believer that there is no such thing as ‘must-see waterholes’. There are several lists on the internet with Etosha’s “best waterholes”, check them out, yes. However, don’t forget that this is not a zoo. Animals come and go how they want and there is simply no guarantee of seeing specific wildlife at a specific waterhole. Some waterholes offered an enormous animal party. At others, we did not see a thing or the hole has even dried up. You may find this website useful when doing your research about waterholes.
Nevertheless, there is one waterhole very different from the others – Moringa. This waterhole is really unique because you’re not sitting in a car. Instead, there is a viewing platform with benches and stuff. You can sit down and enjoy animals coming and going for hours. Some people even do a picnic there. Which is cool as long as you stay silent and take your garbage back to the camp. Nobody wants to watch squirrels and honey badgers enjoying fries and plastic bags.
Moringa waterhole is located at the Halali camp. Literally a stone’s throw away, you can easily walk there from the camp.

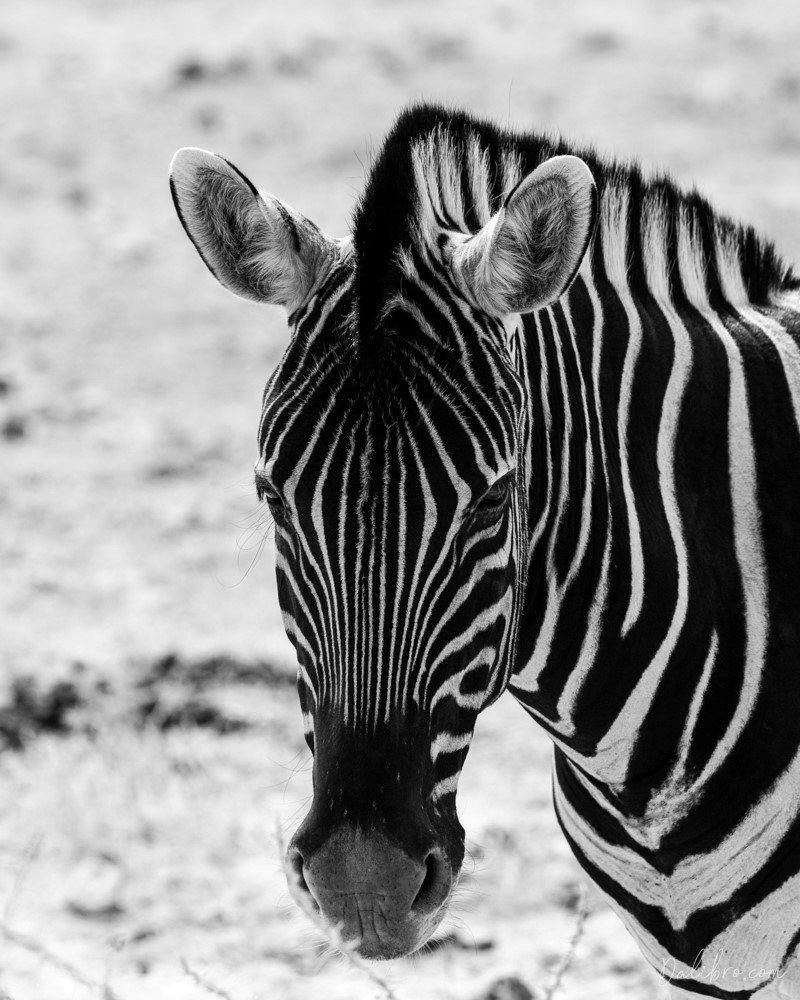
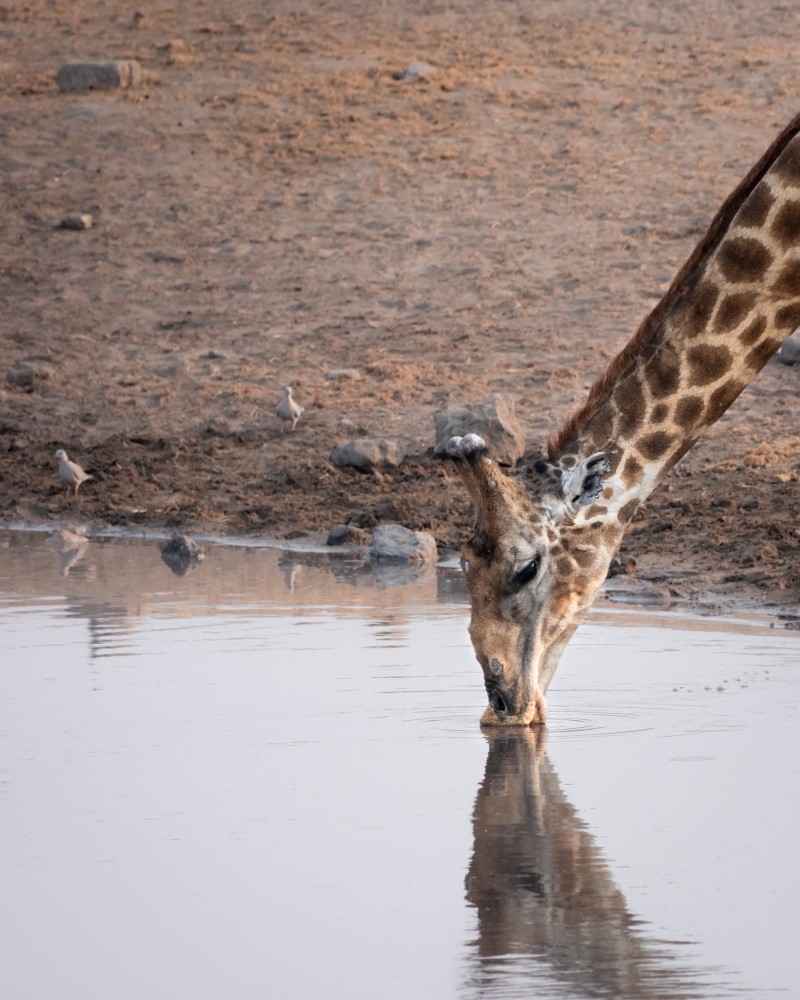
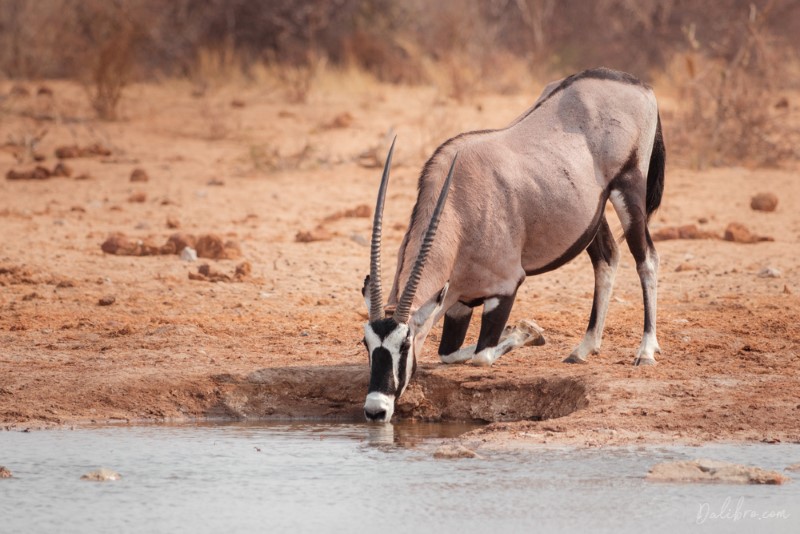
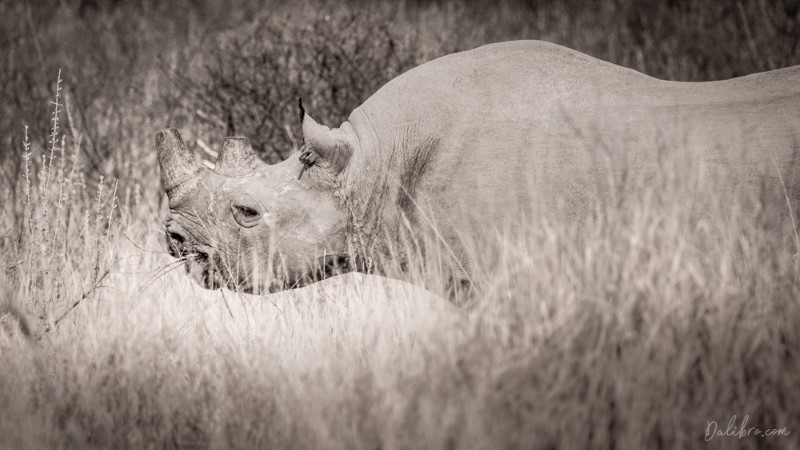
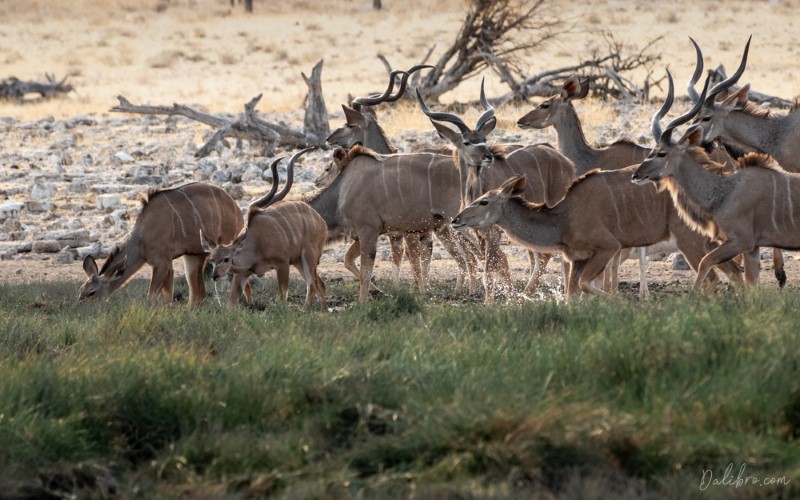
What animals can you see?
Elephants, zebras, wildebeests, giraffes, oryxes, lions, cheetahs, rhinos, hyenas (that are as scary as in Lion King), springboks, warthogs, dik-diks, elands, kudus, hartebeests, jackals and an amazing variety of birds. Just name it.
Photographing Etosha, Namibia and photography tips
Timing
Best travel time for spotting wildlife is approx. July to September, since animals come to waterholes. But of course, no two years are the same so there might be a slight shift. In terms of daytime, best times for photography (as you’d expect) are mornings and evenings. You’re not allowed to drive in the park before sunrise or after sunset even if you have a lodge/camp reservation inside the park.
However, staying inside the park will still give you a big advantage since you’ll be closer to wildlife and further from the morning crowds. I also noticed that the rush hour was in the morning and around midday.
After 4 p.m. the park feels a bit emptier and more relaxed. So if you’re staying in a hotel inside the park, you may really utilize this time to explore and do some photography as the light gets better and better and animals become more active.
Light conditions
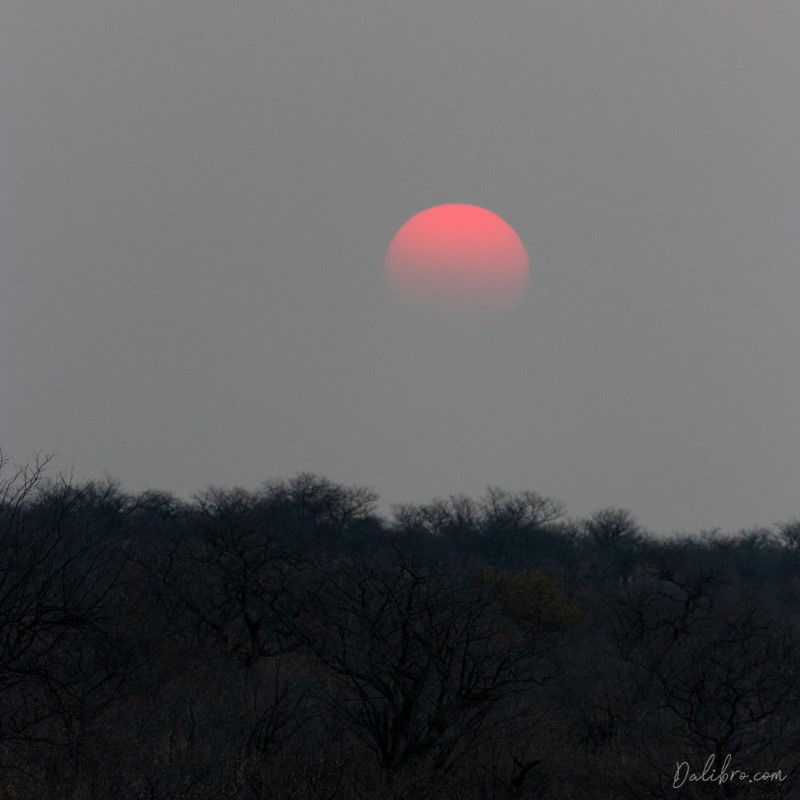
Light in Etosha was interesting (September 2018). The sky was clear but the whole day sort of greyish (dust, I guess?), as if there was a huge grey backdrop. So unlike in Deadvlei which was so bright that my eyes hurt, light in Etosha was almost always diffused. So don’t despair if you can’t be there during the golden hour! It is still very pleasant to photograph, even around noon. And of course, it is a fantastic experience in general – just to be there! I personally don’t understand some photographers’ opinion about not even bothering to explore the park during the day, just because the light is not epic.
There were also no classic sunset situations as I know them from elsewhere. The sun got rather dark red and then simply disappeared about 10-15 degrees above the horizon.
Camera equipment for the national park
Remember – you’ll stay inside the car for most of the day, so you won’t really need a tripod (except e.g. Moringa waterhole). But that also means you won’t be able to get closer to anything you’ll see. Therefore, a long lens is an absolute necessity! In fact, bring the longest lens you have. Or rent it. I was really happy with my Canon 70-300mm.
Even with 300 mm (which is in fact 480 mm when taking crop sensor in consideration), I sometimes wished for more. Bring an extender like this one, if you have it. A lens with an image stabilizer is super helpful.
Since you cannot really use a tripod inside a car (if you do, please send me an image :D), some kind of support is very useful to keep your images sharp. Ideally, get a bean bag before you leave for Etosha. You hang such beanbag over an open car window to rest your lens on. Alternatively (and not as elegantly), use a fleece pullover folded a couple of times.
In general, the Namibian environment is quite dusty so make sure you bring also your cleaning equipment. Remember John Rambo and his bow.

Camera settings
I was really happy to own a lens with image stabilisation. Image stabilisation softens not only the impact of my shaky hands but is also dead useful when you use very long focal lengths. Because the longer the lens, the shakier the image and the faster shutter speed you need.
Speaking of shutter speed – I mostly used fast one, around 1/800 of a second and tried to compensate it with higher ISO. I left my aperture wide open for most of the time to let in as much light as possible. Which makes focusing a bit more difficult (as I described in this article). I also used fast continuous shooting. That means shooting images fast one after each other while holding the shutter. I usually checked the sequence directly afterwards and deleted some images when I saw straight away they’re not very good. When I wasn’t sure, I left them on the card.
I shot everything in RAW + medium JPEG. I’m becoming a big fan of this setting. It allows me to edit any image I took during my trip in Lightroom. And at the same time, I have the same set of images that I can show to my family and friends directly.
We even use them to create our annual vacation photo book. And I can send them via email. I deliberately use the medium JPEG option as the quality is still very good but the size only between 2 and 6 MB. I got myself a couple of SD cards and everybody’s happy. 🙂
Pin this for later:


Wow! Beautiful pictures and great tipps!
Thaaaaaaaaaaaaaaaaaaaaaaaaaaaaaanks! 🙂
I have always dreamed of going on a safari, but this post made me realize I need to do it sooner rather than later. How incredible! Your wildlife photos are just stunning. And your tips are really helpful. Such a great post.
Thank you so much! You’ll love it, it’s soooo different compared to a zoo! 🙂
Amazing photos! I’d soooooo love to be this up close and personal to such amazing creatures. Thanks for bringing me along on your adventure via this post!
Thank you so much for stopping by! 🙂
Wow! What an amazing place to explore! Your photos are incredible. I love photography and long for a trip that I can take photos like that.
Thanks a lot!! 🙂
I agree with previous comment – WOW! Simply wow. The pictures are amazing – Africa is one of my dream destinations, and I always wanted to visit national parks there.. Etosha sounds great! Thaks for the tips
Thank you so much. Namibia is really really beautiful! 🙂
Thanks for bring back so many fantastic memories of Etosha. You’ve put together a great guide that would have be useful when we went (totally right about needing to book accommodation well in advance). Your photos are stunning as well.
Thanks a lot, glad you liked it! And yes, planning well in advance is the key! 🙂
Such beautiful pictures! National parks and safaris are my favourite thing to do in a specific country. I especially love how animals are in their natural habitat.
Thaaaanks!!! 🙂
What a comprehensive guide – great work. We would love to visit Namibia and discover the wildlife. Your photos are incredible, especially the elephants. Very helpful photography tips too.
Thanks Alex! It was absolutely amazing!
I love those candid photos of animals. I have never been to Etosha, Namibia it would be so cool to do some photography lessons infron of this stunning view!
Thanks a lot for stopping by!
Wow, Etosha National Park is a gorgeous place and while I have read about it, this is the first time someone has presented such marvelous pictures. Thanks for sharing.
Thank you so much! 🙂