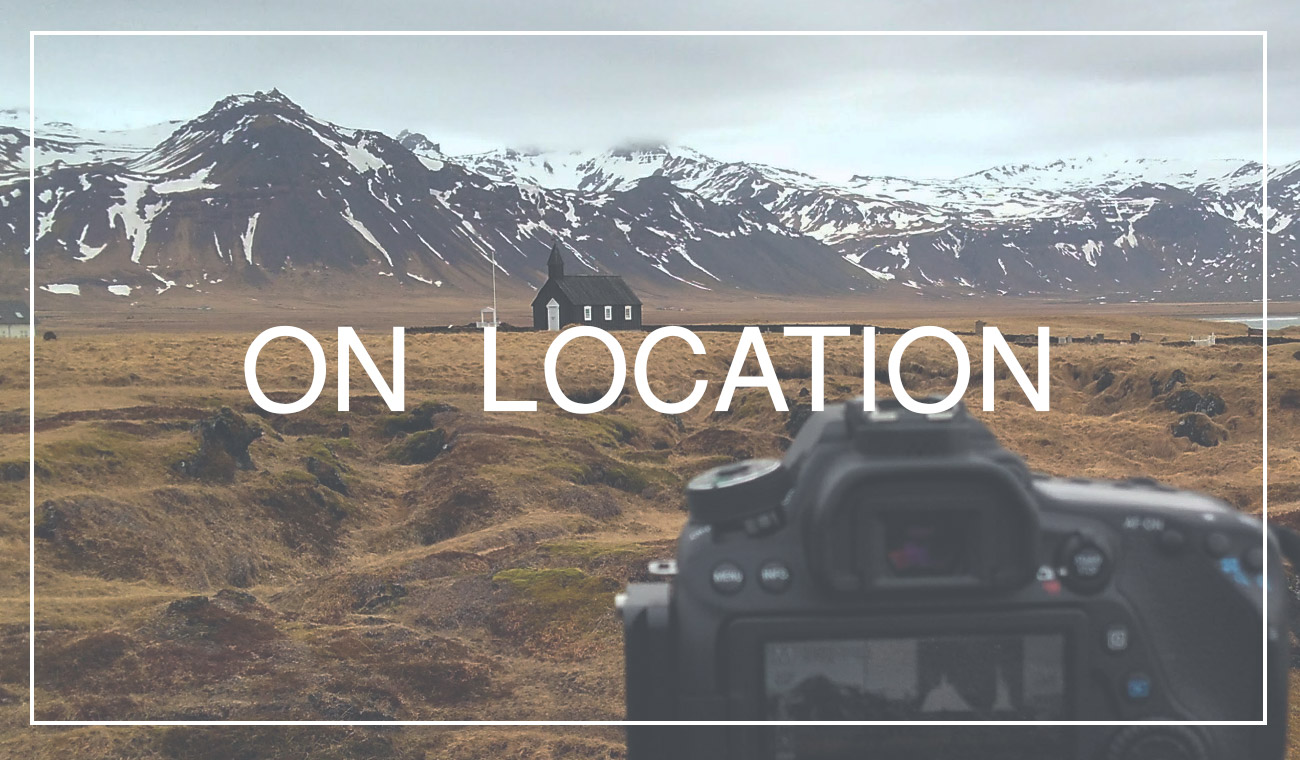
People often tend to think that creating a great landscape photograph is a question of expensive gear and visiting stunning places. That if you have resources to combine these two things, award-winning images will automatically magic themselves into the camera.
But the creation of a good image is actually hard work. Yes, pressing the shutter is involved at some point but there is so much more than that! In fact, it is the entire process that I love about landscape photography.
The time I spend outside, trying to understand the place, and doing all the non-photography pre-work. That’s what really counts and hopefully transfers into the eventual outcome — your image.
This is no perfect workflow, no secret key to creating an amazing photograph but rather a set of things I learned to do on a photography location. Things that might help you develop your own on-location process.
By the way, if you subscribe to my newsletter, you will receive a free ebook with even more tips for improving your photography straight into your mailbox. 🙂

Subscribe now and get my free ebook straight into your mailbox!
*Disclosure: This article contains affiliate links. If you use these links to purchase any item, I will get a small percentage which helps support my work at no extra cost for you. Any recommendations on this website represent my honest opinion.
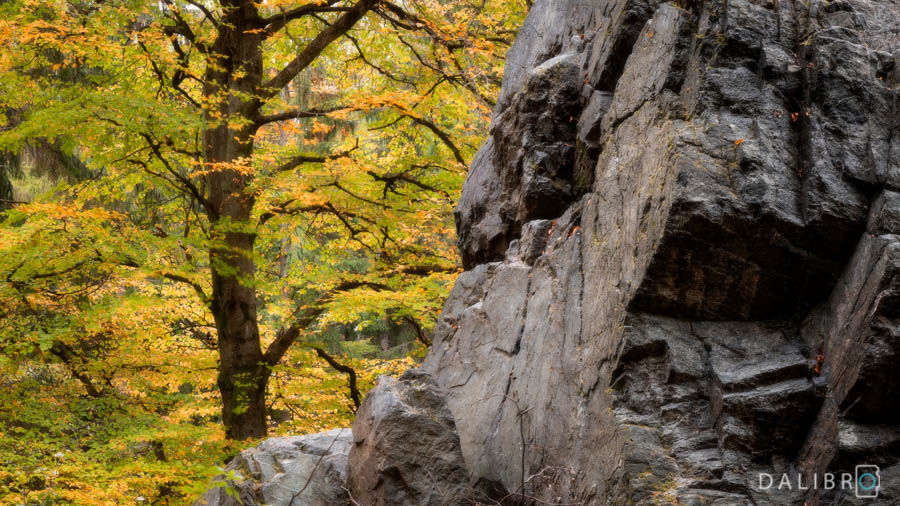
1. Create a personal connection with the location before even getting out your camera
This one might be the most important tip of the five and easily the one which is neglected the most, so I’ll spend the majority of words on it. Get familiar with the photography location!
I’m someone who gets easily overwhelmed when arriving at an exciting new place and I almost always tend to start snapping images like a first-time tourist.
What really helps is breath in and out first and absorb the beauty around you with the best camera you have with you — your naked eyes. Do not get your camera out yet.
Some photographers like to walk around with a smartphone or their camera in the full-auto mode before they start serious shooting. I personally like to trust my eyes and focus on what the place feels like. I also search for anything that’s interesting, unique or somehow out of place.
What works great for me is visiting the same place multiple times. I do realize it is not always possible in landscape photography. But when you’re familiar with your location, not only you’ll know what kind of image works well but you also won’t be as distracted as the above mentioned first-time tourist.
Sooner or later, you’ll create a personal connection to your location. You’ll start to care. And unless your heart is made of rusting razor blades, you’ll appreciate the beauty of a nice photography location in any weather, any time of a day, any season — no place in the world looks exactly the same twice. Isn’t it fascinating?
2. Focus on what YOU want to shoot
Once you do the location scouting, enjoy the place and breathe some fresh air, it is decision time.
Imagine what you want to materialize in your camera and why. Don’t forget it’s you, your mind and your creativity that’s out there right now. So don’t just do those iconic shots everybody have done and seen already. It’s about YOUR vision.
Take your time and keep deepening the connection with your photography location. What is the thing that really makes YOU enjoy the place? What do YOU find extraordinary? And what story do YOU want to tell with your image?
After that, and only after that, think about more technical questions. Should you incorporate foreground or not? Do you want to go horizontal or vertical? Wide lens, long lens or both? Colour or black and white? What crop? Will you need a filter to achieve the result you want? And finally — what settings to use?
3. Set up your tripod
Now with an image in your head, it’s time to create it in your camera. But first, set up your tripod where you need it to be, at the height you want. When shooting a panorama, make sure your tripod is level. And I mean the tripod itself, not the ball head!
And finally — make it as stable as possible. If necessary, use the small hook to add some weight (e.g. hang a bag on it).
There’s nothing more annoying than having to readjust the tripod legs for the fifth time. So invest the time, do it right and you’ll only have to do it once!

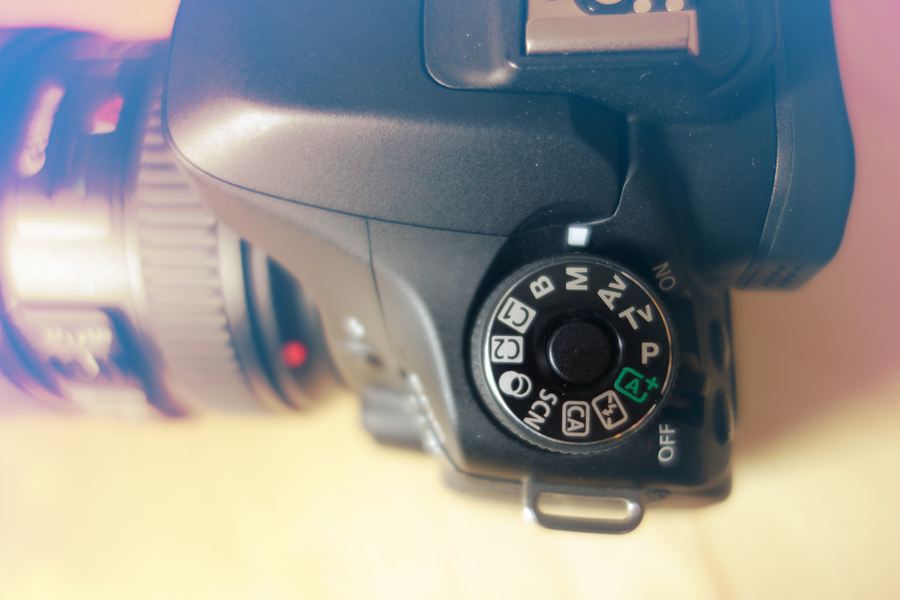
4. Check your camera and its settings
This is a tricky one. Way too often I fail to check some settings on my camera. It is definitely a good habit to have a well-established set of checks.
I like to first check the gear itself — the cleanliness of the lens and the filter. Look for water drops, dust, scratches or the worst of the lot — your fingerprints.
Then I check all the buttons. Typically the AF/MF button, the Image stabilization button and the camera mode button.
After that, I double check the actual settings. You don’t want to shoot landscapes with ISO 16.000, right? Right?
And finally, my favourite activity of them all — focusing. It just feels strangely satisfying to change a blurry blob into a pin sharp image just by simple twisting of the focus ring.
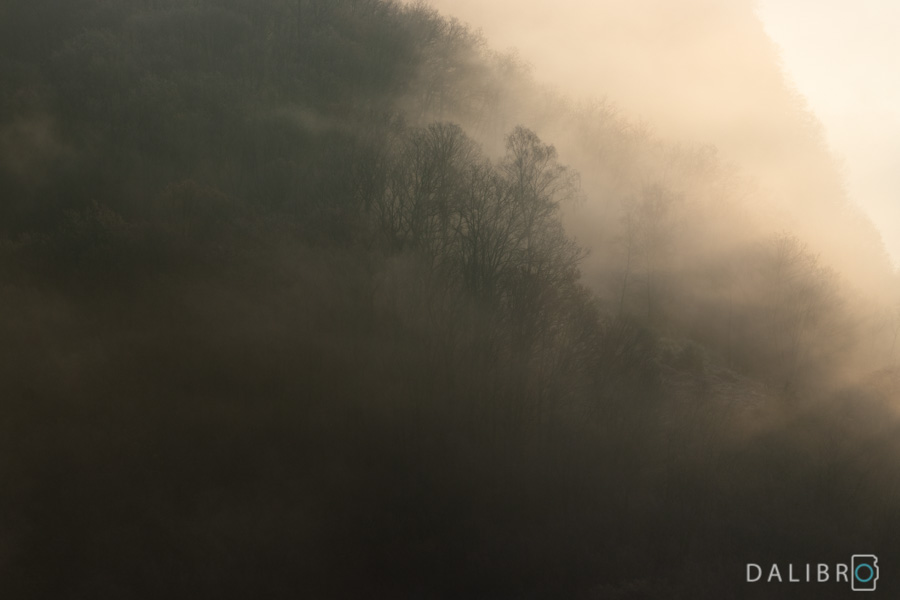
5. Wait for the right moment to happen
Now you’re finally ready to go. But are you really? Just because you’re ready doesn’t mean the photography location is ready for you. The right light, the right cloud, the right moment might simply not be there yet.
My only advice here is — if you have the time, stick to what you want to shoot and then…wait. The timing is, of course, crucial and can decide whether you go home with a good photo or a spectacular photo.
Unfortunately, the time to wait for the magic to happen is often what we lack when travelling.
But try this — go for a short trip to a place you know. Maybe just a park or a forest nearby. Find a nice composition and then wait for the right moment. Invest an hour or two.
Consider this a little test of your passion and patience. I’m sure you will notice the difference!
Pin this for later:


“And unfortunately, the time to wait for the magic to happen is often what we lack when travelling.”
So true, stay calm and you will be rewarded!
Yes! And if not by a good image, at least the place will be saved firmly into your memory 🙂
Dali! Could you pleeease also write a post on where to get the patience needed for all of that? 😀
Sugar and coffee, that’s all you need. 😀