
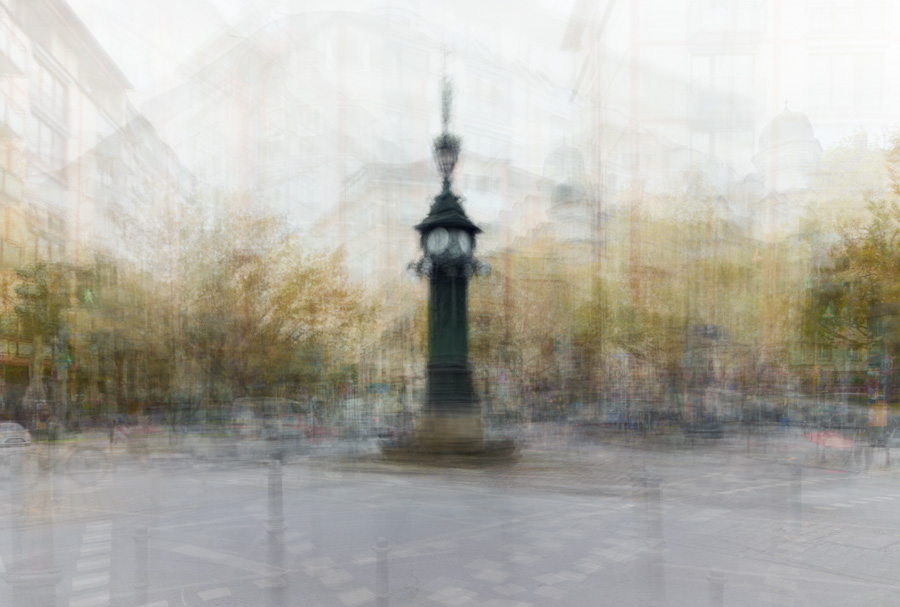
The ‘in the round’ technique is an impressionist way of capturing a scene. It is often soft, dreamy, sometimes almost surreal, and definitely has some painted-like qualities. Things that you don’t really expect from modern digital photography.
This photography style was, in fact, the main reason why I wrote an entire post about impressionist photography techniques.
I’ve been absolutely fascinated by the way ‘in the round’ photography pushes the boundaries of my creativity.
What I really love about it, is how all the important work has to be done on location and how you’re forced to think three-dimensionally.
It’s almost like sculpturing a photo, rather than just taking it.

Subscribe now and get my free ebook straight into your mailbox!
Disclosure
What is the ‘in the round’ technique?
In my impressionism article, I explained it on the example of the legendary opening scene from Matrix. The one where the camera goes around Trinity while she’s frozen airborne doing her kung-fu thing.
If you blended those frames on top of each other, you’d get an ‘in the round’ image.
That kind of describes how the technique works – it’s photographing a subject from different perspectives followed by blending these exposures.
You’d usually walk a part of a circle or a full circle around your subject while taking photos every few steps. Hence, ‘in the round’.
By doing so, you’ll gather at least a couple of photos. There is no upper limit – I’ve seen images created with this technique using up to 100 images!
However, I recommend starting somewhere between 10-20 images. It’s better for practising and properly understanding how this all works and what suits you best. But there is really no right or wrong!
‘In the round’ means photographing a subject from different perspectives and then blending the exposures.
The rest of the trick is in layering these photos on top of each other in Photoshop. By changing the opacity of each individual layer, you’ll be able to see a bit of what’s underneath. Do this a couple of times and you’ll be surprised by the results!
Choosing the right scene for ‘in the round’ photography
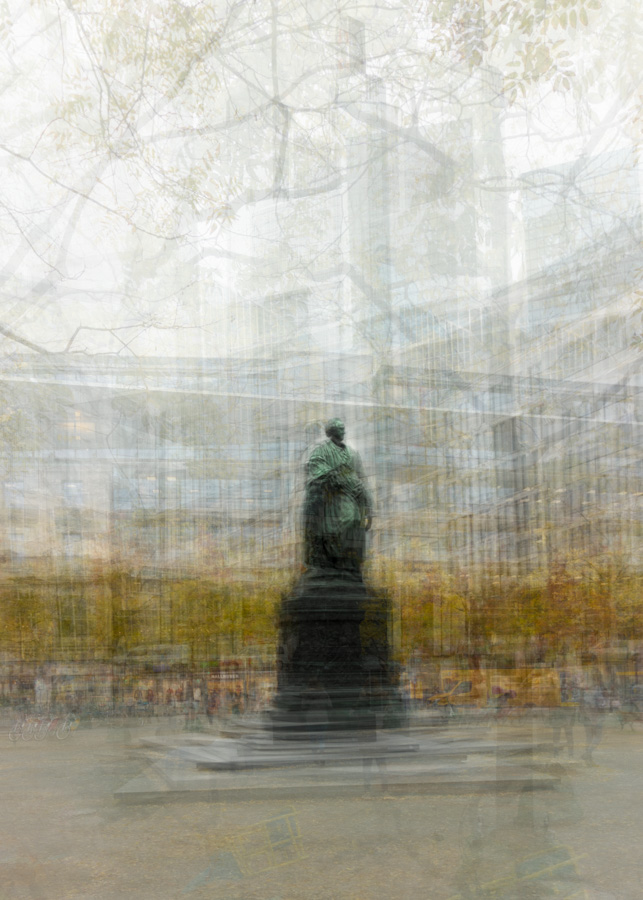
Finding the right, strong enough subject to photograph is the key, just like in ‘normal’ photography.
However, I learned that scenes that would normally work perfectly, are often not great for this technique.
The reason is the way ‘in the round’ technique destructs the scene – only the most significant parts will retain some pleasant level of detail.
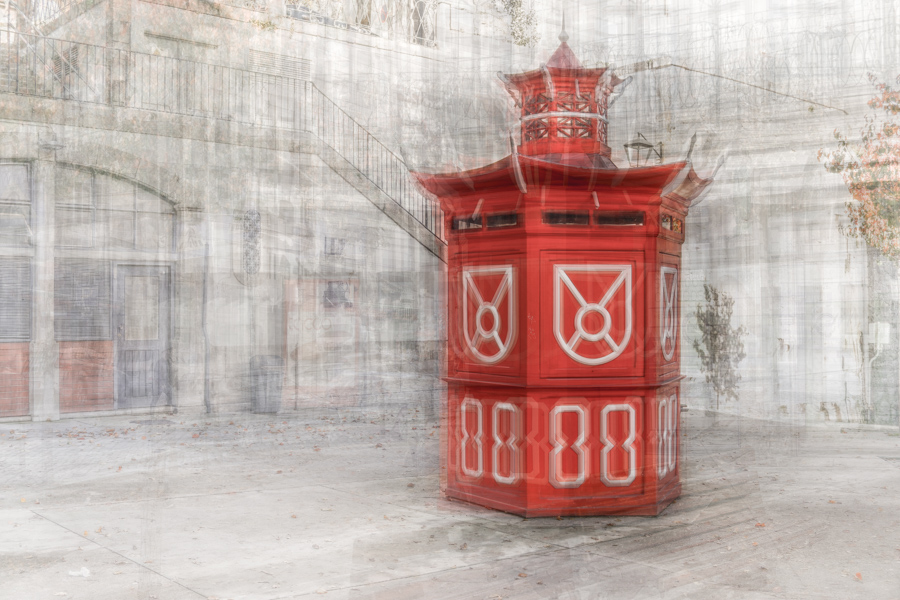
Hence, you’ll often find seemingly boring objects like lamps, trash bins or postboxes a great place to start. As long as they are well separated from their surroundings and you can comfortably walk around them.
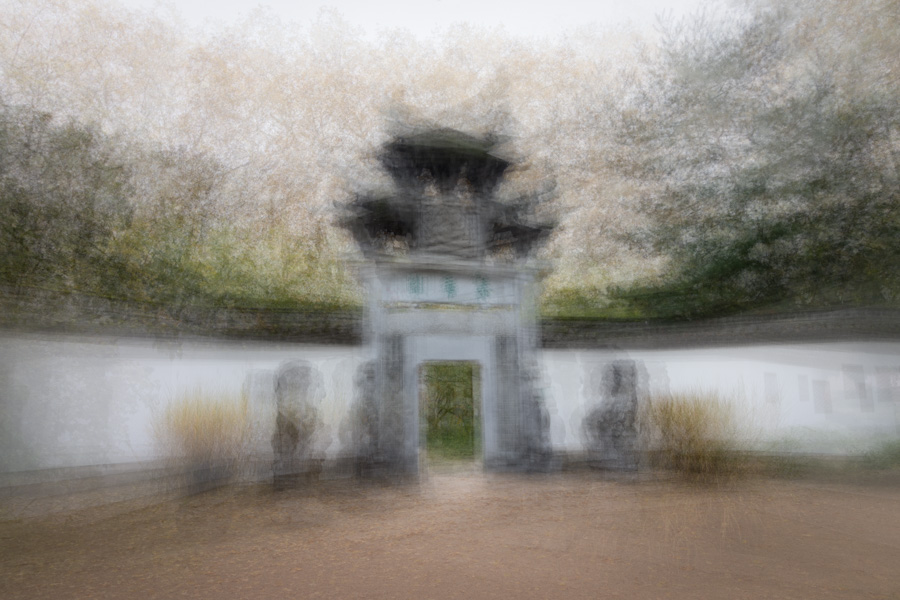
When trying ‘in the round’ photography for the first time, look for scenes that look very similar from different perspectives. A stand-alone tree is probably the best example. It will give you a great insight into the way your image is created.
Once you get more experienced, try capturing more complex scenes. But always observe first – look how the scene changes and the perspective distorts when you walk around.
Remember that whatever you choose as your pivotal point, becomes the main subject. The rest tends to get pretty blurry.
Necessary equipment and camera settings
Equipment
Another great thing about this technique is that it doesn’t require much equipment. No tripod, no flash, no special lenses, nor expensive camera are necessary.
And what the heck, I don’t see a reason, why you couldn’t use a phone camera.
The (dis)advantage of ‘in the round’ is that you’re not only losing detail and sharpness but also the general sense of image quality.
So the camera matters in a very limited way. Goodbye, pixel peekers!
I like using a wider lens when doing the ‘in the round’ photography – something like 10-35 mm will do. It gets me a lot of visual input.
Camera settings
Although achieving a perfect focus is not necessary, I like to use the focus points in my viewfinder. They help me keep my scene consistently composed while I walk around it.
So for instance, when I photographed this tree, I kept the middle focus point on the tree trunk’s upper part. In each of the 18 images:
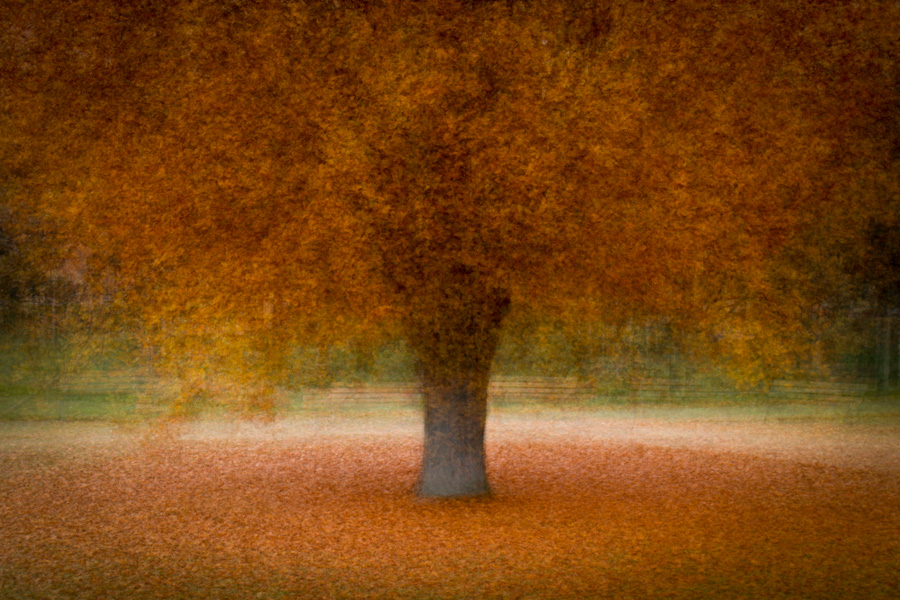
That way, I kept my ’round’ fairly steady. Without the tree being far too left in one image, way too down in the next one, and so on.
Alternatively, you can use the gridlines in the live preview. Compose the scene, and then try to stick to it when you walk around.
These features are also very helpful when you don’t want your subject right in the centre.
Other camera settings are in my opinion far less important. I usually try to keep the ISO low but that might just be a landscape habit of mine.
Keep in mind that a very wide aperture (low f-number) will translate into your final image. The creamily bokeh-ed background will become even more decomposed after you lay multiple exposures on top of each other.
RAW or JPEG
If you belong to my trusty readers, you’ll probably know that I stick to the RAW format just like Dobby sticks to his socks.

However, I would not recommend using RAW images for this kind of photography. The reason is pretty obvious – the number of layers you will be processing. If you shoot 50 photos in the round, it will give you 50 layers.
Even only a couple of RAWs will inflate your Photoshop file to 4 GB and more. Difficult to work with, difficult to save, and expensive to backup.
Hence I highly recommend working with JPEGs when trying the ‘in the round’ photography. Alternatively, shoot in RAW, correct the exposure in Lightroom if necessary, and export as JPEGs. Then work further with those.
Finalizing your “in the round” image in Photoshop
You might be still a bit confused about the actual creation of an “in the round” image. But trust me – the basics are simpler than it looks! Here’s what you have to do:
- Import your JPEG images to Photoshop as layers
- Select your base layer, move it to the bottom and disable all other layers
- Go through all layers one by one from the bottom to the top and reduce their opacity by a bit
- Also, play around with the layer order, size and position, as well as masking out areas that might be distracting
- If the PSD file gets too big, consider converting layers to a smart object so that you can save the file (for the Photoshop cracks out there – please let me know in comments if you know a better solution!)
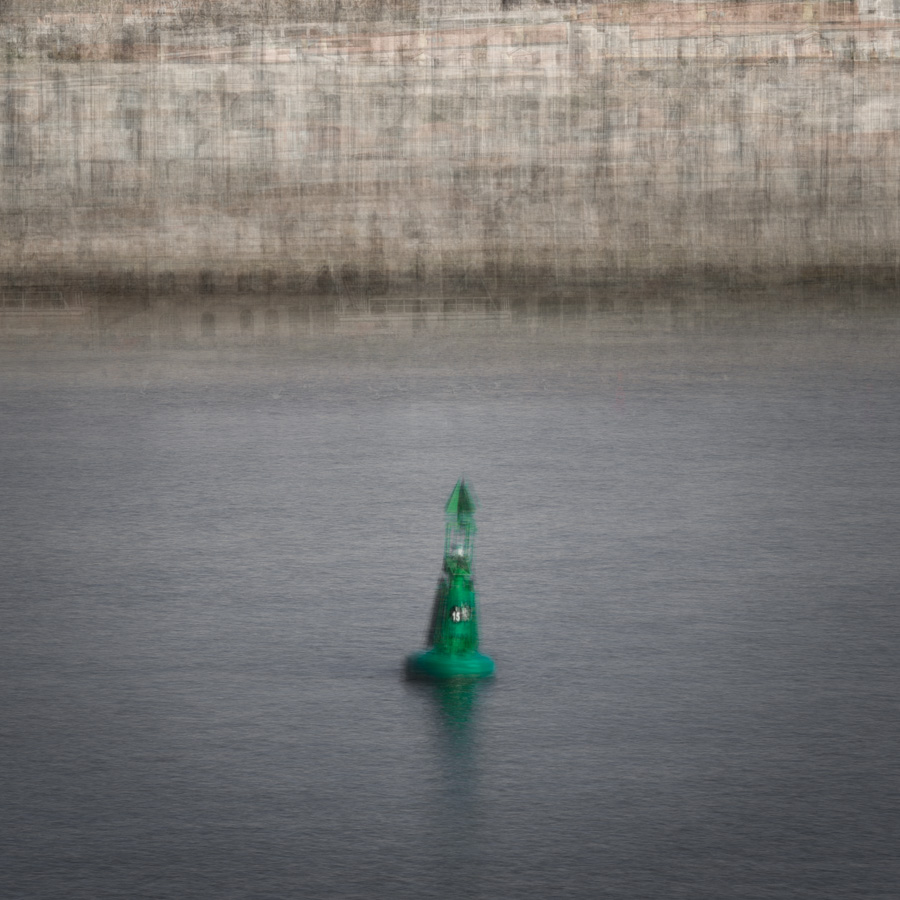
Here’s a video of how I did the Porto Buoy image:
Where to go next
Go out and shoot your own “in the round” images, obviously!
By no means, I am an expert at this nice little technique, no no no. Pep Ventosa is! Make sure to browse through his amazing gallery for a bit of awe and inspiration.
You shouldn’t miss Stephen D’Agostino’s impressionist portfolio either.
Any questions or further ideas on this topic? Let me know in the comments!
Pin this for later:


Thank you for the interesting tips and manuals. I have never tried something like this – but the effects are very WOW!!! The results look really amazing. ☺️
Great, glad to hear that!
Thanks for sharing such a clear and helpful article. It was a pleasure to read!