
Backing up your photos is incredibly important and criminally underrated. Full stop. But let’s face it – the topic itself is neither particularly exciting nor fun. Plus it is a financial expense protecting you from something that possibly might but doesn’t have to happen.
This article will guide you through a couple of options to keep your files safe. And although it might seem like a pretty “gear-heavy” article, please remember this:
“Gear can become faulty or get stolen. It’s a good workflow that really protects your photos!”
Table of Contents
Disclosure
I. Why should you back up your images?
Imagine this. You did your research, probably travelled to far-away places, set your alarm clock to some terrible still-in-the-middle-of-the-night time, probably did some more travel, possibly including a crazy hike with your headlamp on through an unknown place.
Then you explored the area you wanted to photograph, found a composition that worked, checked your histogram, the sharpness, and finally took the perfect shot. You brought it back home, tweaked it until you were more than happy with your image.
In other words – you did all the hard work that usually goes hand in hand with a good image. And then, quite suddenly – nothing. Error pop-ups, black screen. Everything gone. Your photos, your Lightroom edits, everything.
You wish you had thought about a backup before all this happened. Which is exactly the problem – you don’t pay enough attention to backing up UNTIL it’s too late.

Subscribe now and get my free ebook straight into your mailbox!

II. Don’t fully trust any brand – data loss can happen to you
What I described above is a nightmare scenario which haunts every photographer. And some of us even had the ‘privilege’ to go through this very experience. Like me. Twice. And then once more on a smaller scale. The final stab.
Those of you subscribed to my monthly newsletter were exposed to my moaning about the loss of all my data due to a sudden fatal crash of my computer. That computer was a product of a well-known manufacturer and it wasn’t exactly cheap. At the time it was only a couple of months old.
Believe me – the terror of losing almost all photos I recently took, all the hard work I did in order to get them and my entire learning curve of editing in Lightroom being wiped out of this world was not something my heart wants to experience on a regular base.
It doesn’t matter what brand your computer is. Backing-up rule number one is – be prepared and don’t trust anyone completely. Don’t be a fanboy believing that with your expensive high-tech device you’re safe. You’re not.
“Have your photos at least in two places all the time”
The guy whose computer fatally crashed twice within a week
III. Backing up images on location
A. Dual-slot cameras
And although I cannot understand the force of the hate attack against Canon and against what seems to be a great camera, having a dual-slot for SD cards totally makes sense from the data protection point of view.
What is a dual-slot camera? The idea of a dual SD card slot is quite simple. If you have it, you may set your camera in a way that every image you take is saved on 2 SD cards simultaneously. So if one gets corrupted, the other one still has the data. In the spirit of this rule, you can have your images in two places already during the shooting.
But even if your camera cannot write on two cards at the same time, you can still diversify the risk of losing your photos on location. I am personally more afraid that my camera gets stolen, rather than my SD card becomes faulty.
So what I do is carrying several SD cards with me and switching them throughout my trip. I keep them in a small travel organizer inside the plastic box they usually come in. Furthermore, I also like to throw a silica gel bag inside (you know – those little bags you get with a new pair of shoes) to take care of potential air humidity.
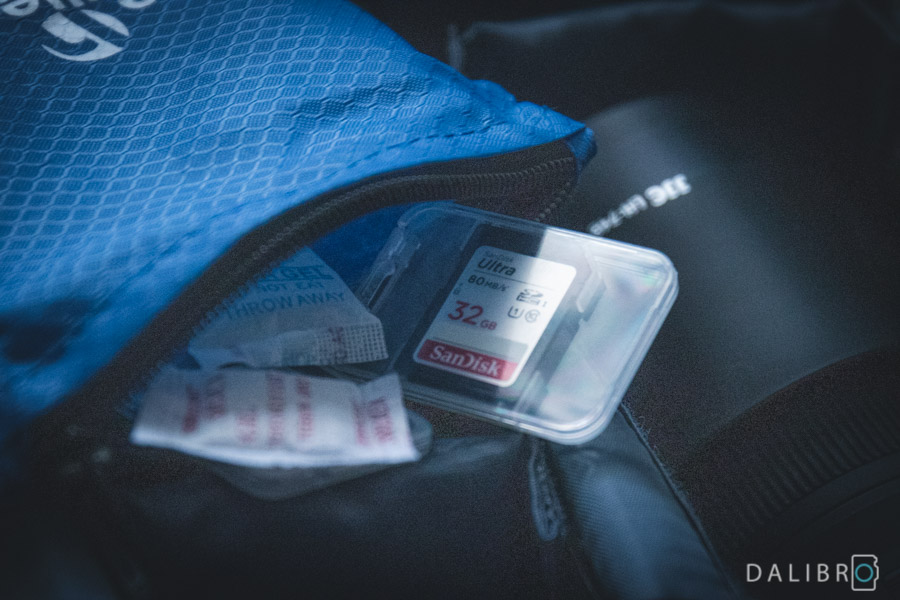
And there you go – this is cheap protection against unexpected SD card corruption, theft and moisture in one go. You cannot protect all images this way but at least you don’t put all eggs into one basket.
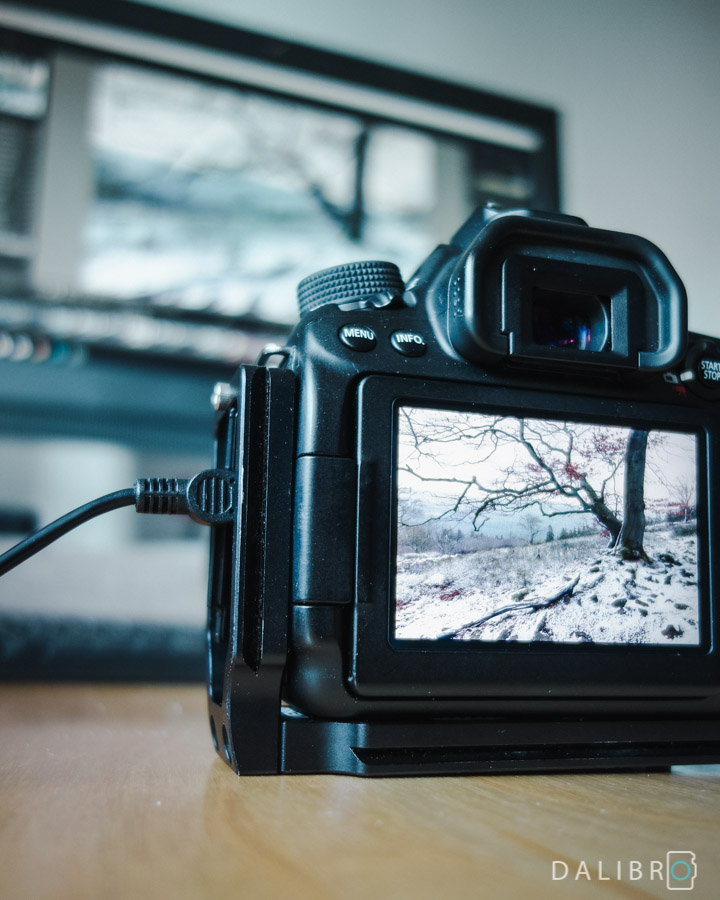
B. Tethering
Never heard of tethering? Well, if you’re into studio photography (food, product, concept, pretty much anything), this might be very interesting for you.
Tethered capture basically means connecting your camera directly with a computer using a USB cable. There are several advantages of doing so but the most important one for this article is – every photo you take using a cable will end up not only on the SD card inside the
So again – every image is in two places at a time.
C. Using a laptop for regular backups
Another good solution is backing up your photos on a laptop or other device already during the shooting. This option is especially popular among wedding photographers who often carry around a laptop to copy their files on the hard drive every now and then.
For obvious reasons, it is the least viable option for outdoor photographers. I personally don’t like having a laptop with me on any trip. It’s big, heavy and quite distracting. However, the possibility of backing up and editing images in smaller batches already on the go is very tempting.

Here are some of the top-end notebooks for photo editing in 2019:
 |  |
 |  |
D. Other devices
Regarding the ‘other devices’ – there is also one more practical solution. This device is essentially an SSD drive with a card slot. Insert your card and you can view the photos and copy them on the drive without a computer (surprisingly, there aren’t many products doing exactly that). Pricey but awesome.

IV. Backing up your photos when you get home
It’s not over when you get back home! You’ll want to do several things – view the images, do a preselection, organize them and edit them. But you should still respect the rule of keeping your files in two places at the time.
Step 1: Copy your images to their new home and organize them
It is a good habit to first copy (yes – copy, not cut and paste!) your images to their new location. And then do the backup of this new location. Don’t delete the photos on your SD card before they are safely on a hard drive AND backed up (on another device or using some cloud service).
Now, I used to put all the images on my computer’s hard drive, which was not the best solution. The hard drive is limited and cluttering it with huge RAW files proved to be not great if you like to keep your computer “clean”. Besides, once it’s full, you can’t easily replace or extend it.
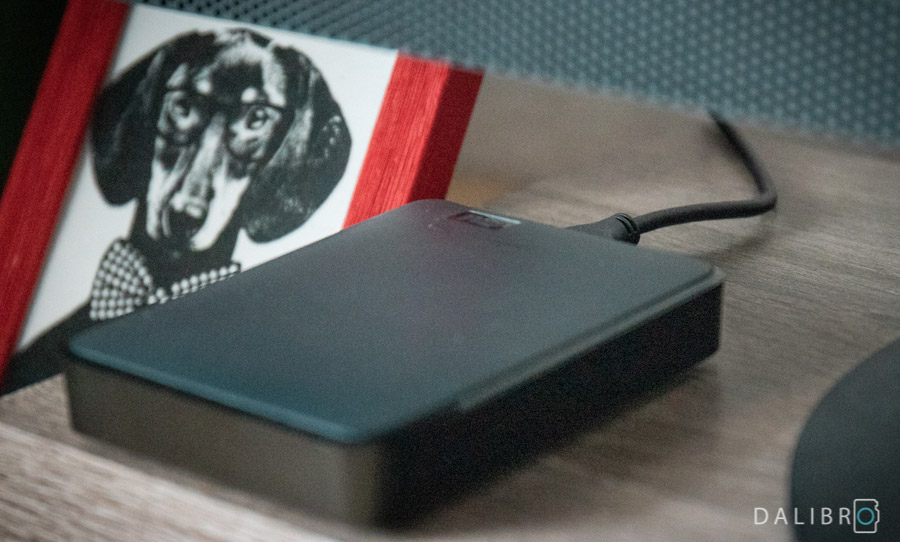
In the search for something more permanent, I opted for a 4TB external drive from Western Digital. It is a standard hard drive with moving parts inside. I don’t mind because I keep it in my office. When I fill it up one day, I’ll probably buy another one and keep the data there.
If you travel a lot and carry your hard drive around, you may want to invest in an SSD device which is much more durable and can handle way more shaking around.
But back to the process – first I copy my images from my camera’s SD card on this external drive where I keep my RAW files nicely organized in folders. I like to use this naming format:
‘
yyyy -mm_location or topic’
Step 2: Back up the new location
Here comes the fun part – backing up the new location of your photos.
You have a couple of options – you could get another external hard drive and back up the first one on it. Home NAS systems are pretty cool, too. Those are basically clouds for your home that you can access from any computer. However, they have traditional hard drives in them again. Mine has been running fine since 2014. I have also backups of this NAS System on Google Drive running automatically.
The option I prefer is some online cloud service like Google Drive, Dropbox, Amazon Photos, Canon’s Irista, Nikon’s Image Space, etc. There are plenty of these. I love the idea of having my images in some non-physical space someone else is responsible for. It complements nicely the physical backups I have at home.
I use Google and their Backup and Sync mini-program which I set up to automatically back up all new files from my WD hard drive.
When everything is safe, I can finally delete the images from the SD card. I also like to go through the already backed-up images and delete those that are completely blurred or those where it’s 100% obvious they have a zero potential. Everything else remains.
I set up my Backup and Sync program to ask me, whether I want to delete also the cloud-backed-up copies of the images I’ve just deleted on my hard drive. That way, I stay in charge.
V. Backing up your Lightroom edits
So now you have all your files safely in two places. Awesome! But what about your editing? All those hours spent in Lightroom tweaking the photos?
In order to understand the process of backing up your Lightroom edits, you first need to understand, how Adobe Lightroom works and what it actually does.
The most important fact to realize is that Lightroom does not actually save images anywhere. When you import your photos, you only create a link to it. Lightroom will only remember where your photo is stored and what adjustments you applied to it.
Lightroom uses so-called “Catalogs”, where that information and adjustments are saved. And that’s exactly what you want to back up!
How many Lightroom Catalogs should you have? Normally you’ll only need one single Lightroom Catalog for all your images. However, there are reasons for creating more Catalogs. The most common one is separating private photos from the business. So you can have one Catalog for private images and one for your clients. I personally have one master Catalog for most of my landscape and travel photography edits and one specifically for my studio work as I like to keep them separate.
You can see which Catalog is open in the upper left corner of the window.
Your Lightroom Catalog is by default saved in your “Pictures” folder. I experimented with different locations but I highly recommend leaving it there.
The next thing you want to do is set up Lightroom so that it creates a Catalog back up regularly. Go to Edit >> Catalog Settings.

In the settings, you can decide how often you want Lightroom to create a copy of all the adjustments. I prefer the option “Once a day, when exiting Lightroom” but choose whatever suits you best. However, if you do a lot of editing, I can recommend to back up at least once a day.

When you’re closing Lightroom, it will then ask if you want to back up the Catalog. There you can select a location for your backups. Now it’s time for my trusty WD external drive again. I have a dedicated folder for the Lightroom Catalog backups there.
When I now click on “Back up”, I’m all set. All my edits are in two places at the same time. In three places in fact – the default “Pictures >> Lightroom” folder, the special folder on my external hard drive and once Google’s Backup and Sync program does its job, even in the cloud.

VI. Summary
With the solution I drafted here (see the image below), I finally feel safe in terms of data backup. At the same time, thanks to Google’s automation and my fix workflow, it doesn’t feel like extra work. Here is a short summary of my workflow:
- I switch my SD cards during a trip and keep them dry and safe.
- I copy the images from the SD cards to my external hard drive. The cloud backs up all new photos automatically (this may take some time).
- I import the images from HDD into Lightroom (their location remains the same).
- I go through my photos in Lightroom (but effectively on the hard drive), sort them, give them ratings and delete anything I really don’t like from the disc. The cloud app will recognize that something was deleted on the HDD and ask if I want to remove them from my Google drive as well.
- Every time I exit Lightroom (or at least once a day), I create a backup of my Catalog, that is saved into a dedicated folder on my external HDD. Google’s cloud app recognizes again that there is a new file, so it backs it up, too.

However, when it comes to backing up photos, there are many workflow possibilities. Some photographers would never shoot on
What is your approach to keeping your files safe? Drop me a line, I’d love to hear from you!
Pin this for later:


Great Workflow scheme – helpful and easy to understand!
Thank you! 🙂